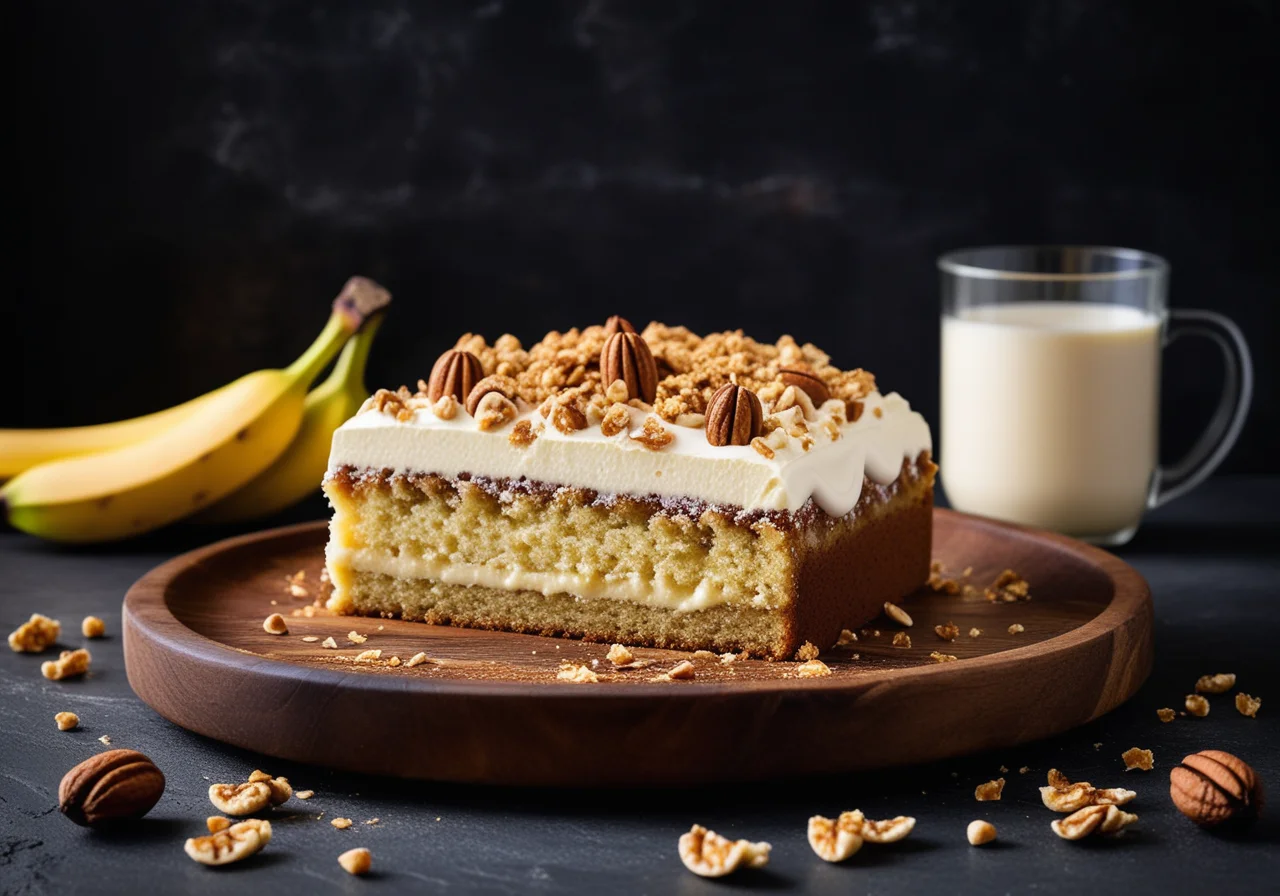
Pecan Banana Bread
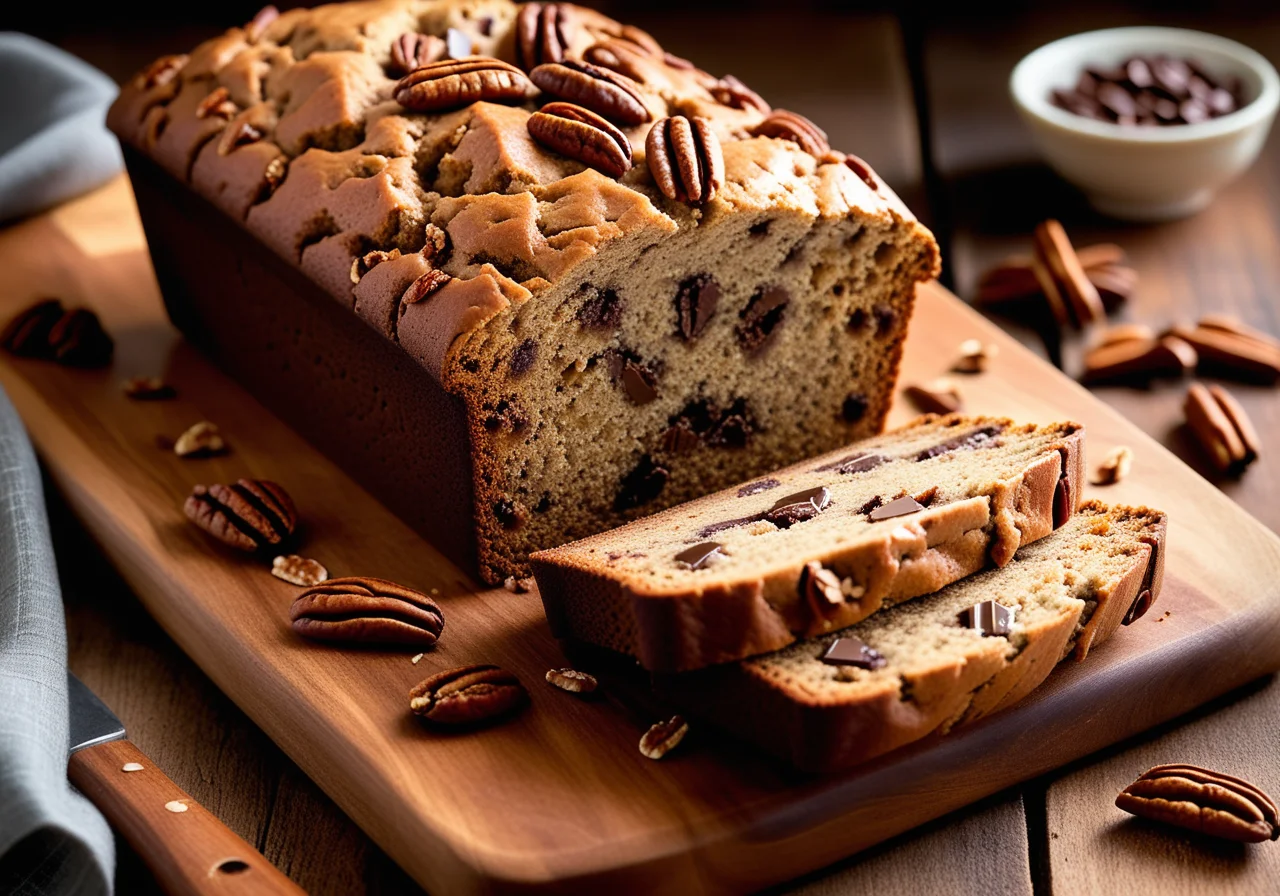
A classic breakfast or coffee companion that brings the comforting flavors of pecans and ripe bananas to every bite.
Ingredients
- 120 g natural pecan kernels (pieces) and extra pecans for topping
- Cooking spray or plant oil (for greasing the pan)
- 250 g gluten‑free or regular flour
- 1 tsp Baking powder
- 0.5 tsp Baking soda
- 0.5 tsp Sea Salt
- 2 flaxseed eggs or eggs (flaxseed egg: 2 tbsp ground flaxseed mixed with 6 tbsp water)
- 225 g coconut palm sugar (or other sugar)
- 110 g coconut oil (or 120 ml pecan oil)
- 0.5 vanilla bean (or 1 tsp vanilla extract)
- 120 g soy yogurt (or regular plain yogurt)
- 2 medium very ripe bananas (mashed; skins should be dark or black)
Instructions
-
1.
Preheat oven to 175 °C. Spray a loaf pan (≈23 × 13 cm) with cooking spray and dust lightly with flour. Set aside.
-
2.
Whisk the flour, baking powder, baking soda, and sea salt in a medium bowl until well combined.
-
3.
In a separate mixing bowl combine the eggs or flaxseed egg substitute, sugar, and coconut oil; whisk for about 2 minutes on medium speed.
-
4.
Scrape the vanilla bean seeds into the mixture. Add the yogurt and mashed bananas, then stir for another 2 minutes at medium speed, ensuring nothing sticks to the sides of the bowl.
-
5.
Add half of the dry ingredients and fold in for 30 seconds, then add the remaining dry mix and blend well for about 30 seconds more.
-
6.
Fold in the pecan pieces evenly throughout the batter. The mixture should be thick but pourable.
-
7.
Transfer the batter into the prepared loaf pan and smooth the top with a spatula. Sprinkle additional pecans on top.
-
8.
Bake on the upper rack for 60 minutes, checking with a wooden toothpick; it should come out nearly clean. If your oven runs hot, test after 50 minutes instead.
-
9.
Remove from oven and let cool in the pan for 10 minutes. Transfer the loaf to a wire rack by tipping the pan onto the rack, then carefully removing the pan. Hold the loaf by its sides and flip it upright. Alternatively, lift the pan, turn the cake over, and place on the rack.
-
10.
Allow to cool completely before slicing as desired. Enjoy!